Aug 18, 2012

My Very 1st *SUCCESSFUL* Konadicure

Hello all :) Hope all is well in your world.  I have no excuse for my absence, I suck, I know, I will try to be better going forward :) A few posts back I had mentioned I started to Dabble in the world of Konad.  Bumped into an awesome kiosk at the mall & purchased a mini kit:  2 small Konad polishes, 1 Konad top coat, a Scraper, Stamper & 1 plate.  I did pick up another plate & they charged me only 1/2 price for it SCORE!!!  That night I tried my hand at stamping & failed MISERABLY, like disgustingly, if I would have done it with my feet I'm sure it would have come out much better LMAO.  I'll post a pic of that epic fail underneath what'd I consider to be a pretty successful Konadicure - side note:  I had heard the word "Konadicure" for the very 1st time from Mary over at Swatch and Learn - sheck her out.  She's fab!

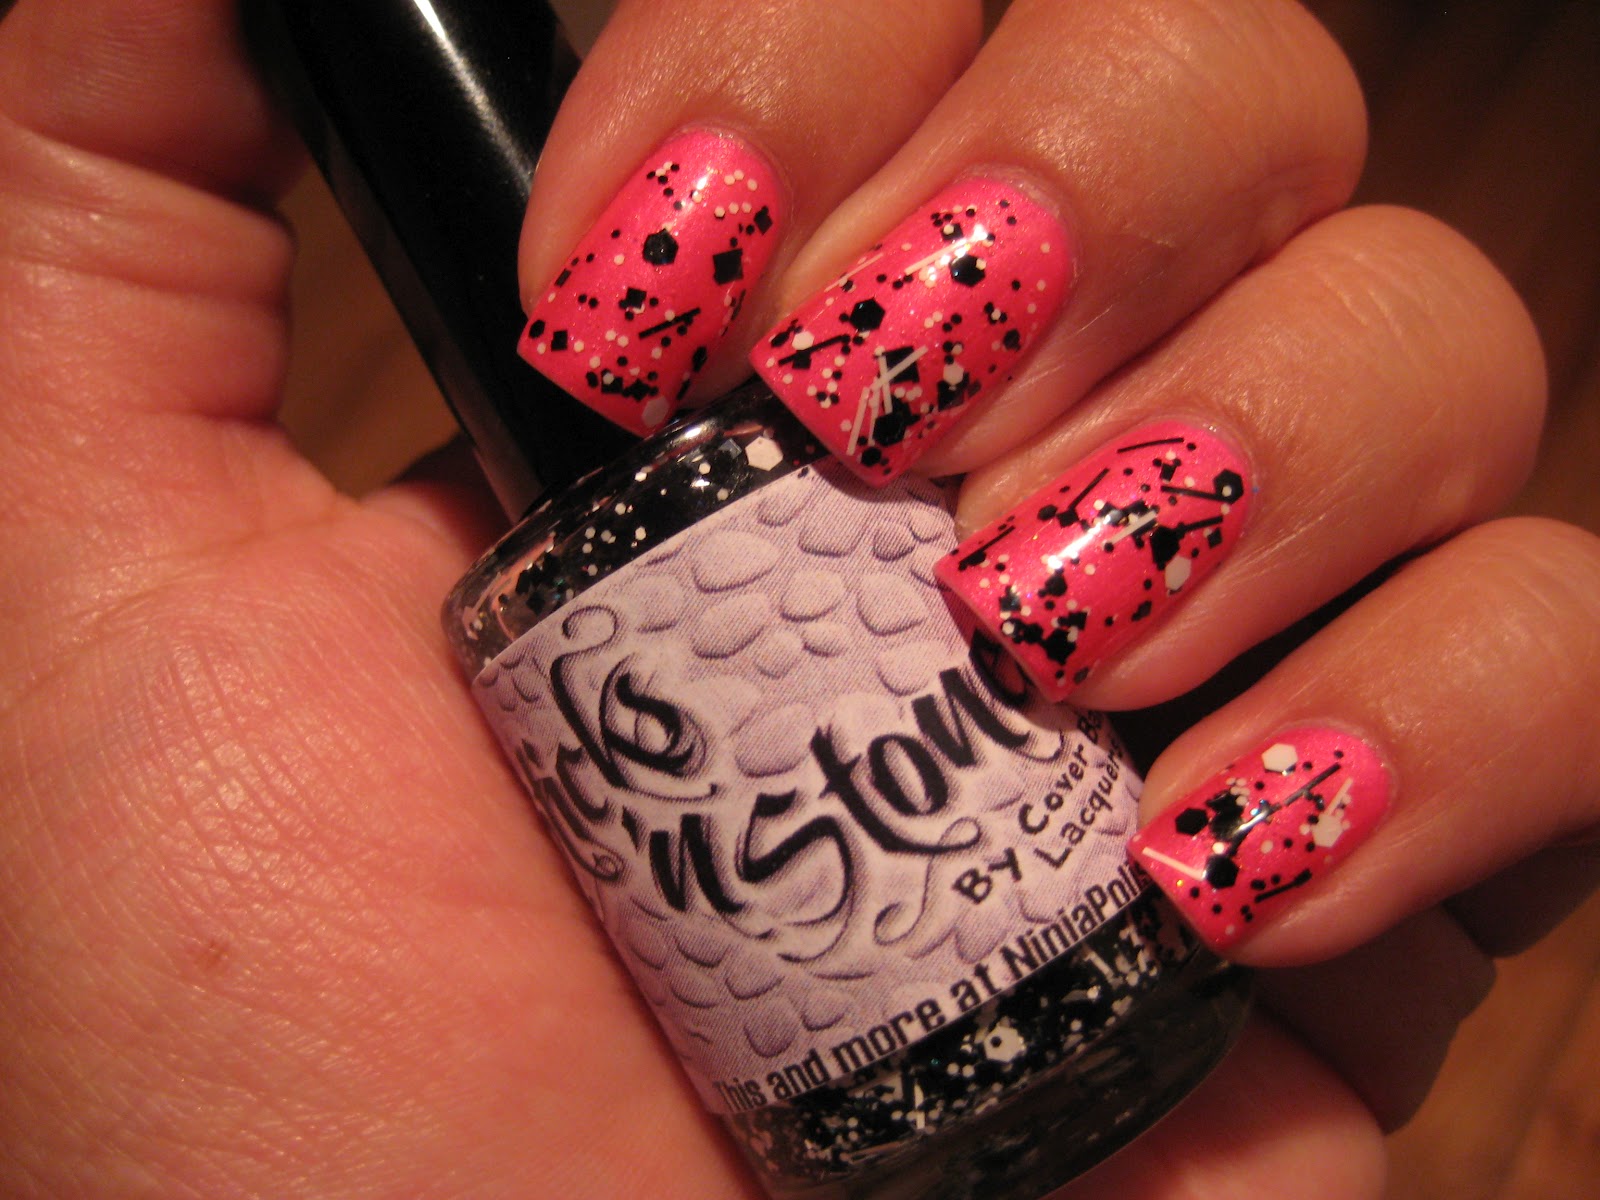
Since I'm starting out with my success & then my disgusting failure, I'll tell you about my success first.  I thought this Konad Plate #M63 would be pretty over a nude.  Realizing that one of the mini Konad polishes that came in my little kit was a navy blue; I decided to forgo it & instead use China Glaze Liquid Leather... but alas, not opaque enough.  Boo!!!  But still, I was able to transfer it over easily.  Now please let me give credit where credit is due - I mentioned Swatch & Learn earlier & all credit goes to Mary for walking me through step by step in order to do my Konadicure.  You should definitely  check out her amazing tutorial here (amongst many others), it helped me immensely & helped me contain my mess.  Thanks Mary!!!  This was 2 coats of Cruisin' Nude & China Glaze Liquid Leather for stamping, topped with Seche.

This in my eyes was a success... just because you could discern the pattern!
4 fingers for ya
Pretty Closeup
Now onto my FAILURE.  Now, I guess I really should cut myself some slack, I mean it was my 1st one, I was crazy nervous, so I guess it could have been worse?  Not really?  I underestimated the amount of force I could put behind my hand when I have to stamp an itty bitty figure, lesson learned, don't treat stamping as if you're trying to push a nail into a wall with your bare hands, take it easy.  So not only did my stamping suck hugely, but I didn't let the polish dry enough - GAH!!!!  Hence the ridiculous streaking... blah.  I've been getting better every time I do the next one :) I used 2 coats of Zoya's Gaia & the dark navy blue - which fooled me into thinking it was black.  Real slick... and Konad Plate #M60.
FAILURE FAILURE FAILURE ::FACE PALM::
Gah... STREEEAAAKKKSSS


Jul 28, 2012

Sticks 'n Stones = LOVE

Herrrrrrrooooo on this SATURDAY afternoon... I think a weekend post is a first for me.  Don't mind it too much, just had to take a number to use the computer.  My Husband is OBSESSED with finding out info for his "corny" phone - sorry I'm an iPhone snob ;) & he's rolling with a Droid Rzr - but he's happy with it - blah.  So yeah, he spends all his damn time on the computer & I'm all "Hellooooo, I gotta blog...".  I kicked him off for you & for good reason - BEHOLD!!! I bring to you - Sticks 'n Stones by Cover Band!!!!
HOW.F'N.AWESOME.
Come closer...
Blurry? Yes. But lookeee those bars!!!
First off, Sticks 'n Stones brings me back to what I'm sure all of our parents told us "Sticks 'n Stones may break your bones, but words will never hurt you." You were right Mom <3 As I mentioned earlier I'm sooo loving this top coat.  I mean look at all this different glitter!  Hexes, squares & bars OH MY!  It's all just so pretty, it mingles so well together & it gives any color - I MEAN ANY COLOR.  An awesome affect.  I've worn it over 2 colors already & didn't take pics - sorry my fault.  One was over Zoya's Pippa & the other was a Color Club's Disco Dress (I'll save the nailgasm over that color for another post).   Sticks 'n Stones gives a really cool splatter affect until you get closer & really see all the different types of glitter.  This mani's base color is China Glaze's Love's a Beach & 1 coat of Sticks n' Stones.  As mentioned in a previous post I scooped this up from Ninja Polish for $9 & will definitely be picking up another bottle as back up.  What do you think about it?

Jul 26, 2012

Nautical Themed Tape Mani

Hello :) How's everything in your neck of the woods?  Hope all is well, if not, I hope this Nautical-ish mani will help you out.  


My inspiration was drawn from a very talented woman over at Nailside.  She posted this gorgeous mani.  And when I saw it I thought nautical immediately.  Nautical could be red/coral & not just navy & white no?  Ah well, it is now :) I loved the gold in hers & decided to utilize it in mine, but I changed the base color to Essie's ~ California Coral...
Here's my take
4 fingers for ya
The obligatory closeup
What I did:  I did 2 coats of MAC ~ Immortal Gold (probably should have gone with the California Coral first - but hindsight is 20/20 ;).  After topping it off with a nice coat of Seche Vite I then went my usual route of cutting strips of scotch tape to size & placing them accordingly where I wanted the gold to show through.  I then removed the tape after the California Coral was applied.  A few take-aways from this mani. #1 - Definitely going with the California Coral FIRST, I had to apply such a thick coat in order for the gold to not darken the red & had to work fast so it didn't become goopey & in the process ended up missing some of the gold towards the cuticle (see last pic).  #2 - Since the coat was so thick I had a bit of an issue removing the tape - I was sooooo worried it's screw up my lines, but luckily there were only a few thin strings that pulled from the Coral unto the gold.  #3 - Thick coat = A RIDICULOUS AMOUNT OF DRYING TIME before I could even think about applying another round of top coat. Boo with a side of Face Palm.  Never again, lesson learned, note taken.  Besides all of that I was extremely pleased with this mani, just when I think about throwing in the towel & just ordering striping tape I feel I keep getting better at cutting the strips :) Go me!  I'm really loving tape manis & again, possibilities are endless. What do you think?

Caught My 1st Floam!!

Howdy!  I forgot to mention in my previous posts that I nearly peed on myself like an excited puppy when I arrived home from work to find a very highly anticipated package from Ninja Polish.  What was inside you ask... Floam by Nail-Venturous - but wait, there's more!  Also tucked away in the package was something I've been waiting for just as much (if not more than) Floam... Sticks 'n Stones by Cover Band!!!!!!  I jumped up & down, hooted & hollered & kept squealing "Squeeee squeeeeeee!!!" in front of my Husband, Father & Son - all looking at me like I needed an intervention.  I couldn't wait to try either so I swatched them both right away, much to my Husband's unexpected surprise LOL.  As excited as I was to try Sticks 'n Stones right away I decided to put off our 1st meeting to build up the suspense... and hit up Floam, did it live up to the hype? Let's see...
Floam - You're finally mine!!!  Muahahahahaaaaaa
4 Finger shot!!!
Close up... Lookeee that layering!!!
Virtual Love Fest of glitter on glitter


1st up - APPLICATION:  Whatcha see here is 4 coats of Floam.  I found it easy enough to work with, it glitter did tend to pull if you went over it too much - so to avoid that, don't do it ;).   
2nd - COVERAGE:  As you can see in the close up shots below, my index finger wasn't covered all the way to the tip, I'm not sure if it was because all the oodles of glitter messed with my eyes & I didn't realize it OR if it could be blamed on the Seche... ::shrugs:: I'll take better care next time.
3rd - WEAR:  Can't speak to this since I just swatched it - didn't give it a full day of wear.

Over the 4 coats of Floam, I gave it 1 thick coat of Gelous & 1 coat of Seche Vite.  I still found it felt a little bumpy, so I might hit it with 2 coats of Gelous next go round.  I love Floam in the bottle, I love it on my nails, but I'm not a HUGE blue girl & there's lots of blue in this.  I did especially love the way the glitter just mingled & layered over one another.  It's really beautiful, I just need to get over my issue with blue & we'll be good to go!  I was lucky to pick this up at Ninja Polish as soon as it came in stock.  They have such a nifty little email notification system set up - so if you want something that's out of stock now, signup & they'll let you know as soon as it's back in stock.  But you MUST be quick!  I missed out on Humble Bee by Nail-Venturous due to my Un-Ninja-like slothness.  LOL As I mentioned earlier, I was also SUPER DUPER lucky to get my hands on Sticks n' Stones by Cover Band along with Floam... which I am OBSESSED with!!!  Seriously looks good over any color.  Love, love, love!!!  I'll be back soon with a review of that.  I got them both for $9.00 & delivery was very quick!  See you soon...

Jul 16, 2012

Solid Goooooooooold

Hello... I'm baaaaack & a lot quicker than you expected I'm sure :) This evening I'm going to post 2 separate "reviews".  Lucky you!  As I mentioned in a previous post I am really finding it harder & harder to just stick with a flat color.  I need a little bit o' JAZZ!  So I decided to just play with an accent nail in Solid Gold... I give you... China Glaze ~ Dance Baby (from their Electropop Spring '12 Collection) & a gold accent from MAC ~ Immortal Gold.  Let's sheck it out.
Super cute!!!
So girly <3
Close up!
First off - I love, love, love this pink!  Dance Baby is such a girly pink.  I felt like Barbie!  It looks great on it's own, offered a perfect pop of color.  Not too bright, not too subtle, just perfect.  This is 3 coats, for this mani I decided to just hit up the accent nail with some scotch tape strips I cut & topped that off with MAC ~ Immortal Gold.  As you can see, I didn't wait until it completely dried (BOOOOO ATHENA BOOOO) before I applied my Seche Vite top coat, which caused some unfortunately streaking ::tear:: BUT I learned my lesson & will be sure to let the color dry before I apply top coat.  Initially I thought I'd be crappy at doing tape manis, but find I am getting better at them the more I try.  Practice makes perfect!  I got the China Glaze at good ol' Sally's Beauty supply & have had the MAC one for a bit & can't remember how much I paid for it.  Hope you enjoyed!

Jul 15, 2012

Bring on the Rainbows!! Layla Holographic Effect ~ Ultra Violet

Hellooo!!!  How's everything?? All is well on this end thankfully :) I'm so super excited about a few things - nail related... I just bought my 1st starter Konad Kit last weekend!!!!!!!!!  It came complete with 2 mini nail polishes, 1 plate, a scraper & a stamper & I bought an additional plate as well.  I'll post pics soon of that as well as the additional 3 plates I bought this weekend.  Hell, I'll be showing you my first Konad FAIL too.  LOL 


But today, we're gonna go for a ride on a pretty little rainbow - brought to us courtesy of Layla Holographic Effect Nail Polish in Ultra Violet.... ooooooo rainbows... 

1st Shot - Indoor Lighting
2nd Shot - a little movement there ;)
LOVE this pic!  The tips look like they're on FIRE
Close up of the rainbow... so pretty

I LOVED this nail polish & have worn it a few times since I first got it.  If there's not a ton of light hitting it, it looks like a very light lavender.  But when the sun does hit it - put on your shades.  They are blindingly beautiful <3 Every.single.color.of.the.rainbow.  I only have 4 colors from this 1st round of Holographic nail polishes (2nd round of Holo's to come soon!!! Can't wait!) & what I do have I absolutely adore.  Here's what I thought:


1st up - APPLICATION:  The key to these are thin coats - which to be honest, can be extremely difficult for me.  I find the more I do them the better I get.  Thin coats that don't overlap each other with each stroke really are the best to prevent any sort of balding.  Luckily the coats dry very quickly!
2nd - COVERAGE:  Very good.  It took me 4 coats to get all coats even.
3rd - WEAR:  Since I never top off Holo's with any sort of top coat I'm kinda jerked from a nice extended wear.  I got 2-3 days before I took it off.  When I say "extended wear" I mean I could have let this go for a few more days before I removed it, but any little nick, or chip I see I use as an excuse to do another mani.  I shameless.  LOL


So yeah, Holo's are on my "Things I Love" list, 3rd only to my Son & Husband. LOL... kidding... kinda... no, not really :) Ciao!

Jul 11, 2012

Heading to Turquoise & Caicos

G'day!!!  How are you lovely Ladies.  First, apologies for being away for so long... life has taken over I suppose. But now I'm back, to let you know, I could really paint them down.... (what a loser I am... didn't make sense but you see where I was going with that LOL).  I have a pretty little swatch to show you today.  Courtesy of Essie ~ Turquoise & Caicos... Essie, take me away!!!!!

I had heard so much about this color, when I found it I decided to jump on the bandwagon, tried it on my fingers & toes (note to self:  no Turquoise & Caicos for my lil' piggies, it just looked weird on my feet).  But cute on my nails.  My skin is quite pinky in some of these pics (THANKS INDOOR LIGHTING!!), but the color is pretty true to what you see.  I was able to wear polish - flat color on it's own for a total of 24 hours.  I'm finding more & more I MUST MUST MUST add some sort of something to a mani now.  Flakies, glitter, tape, more than one color.  I don't know if that's a good or bad thing... we shall see I suppose. 
Indoor lighting... It is truly unbelievable how my skin looks like piglet skin.  WTF? 
Different angle, appeared a bit darker than the first one
Thumb:  Deborah Lippmann - Boom Boom Pow
Index:  Nails Inc. - Wyndham Overglaze Top Coat
Middle:  Essie - Shine of the Times
Ring:  Sinful Colors - Pearl Harbor
Pinky:  Essie - Pure Pearlfection
And of course... I can't leave a flakie/glitter untouched.  Ya gotta mattify it!  I used Essie Matte About You

This was 2 coats of Turquoise & Caicos. Topped w/ Seche Vite, now, onto the review...

1st up - APPLICATION:  I thought it was a little on the thick side.  But I fought through :).  
2nd - COVERAGE:  Very good.  This was a 2 coater for me! Very easy to get opaque on account of thickness 
3rd - WEAR:  This was only on me for one day before I added swatched the topcoats above... but good news is there was no chipping in a day LOL.  I topped it off with a coat of Poshe & all was good with the world.

As you can see I used various topcoats to see how they'd get along with Turquoise & Caicos.  They got along magnificently :) Hope you enjoyed!

Jun 20, 2012

Revisiting Sexy Divide with Shine of the Times

Hello!!!  Hope all is well... It is D-I-S-G-U-S-T-I-N-G-L-Y hot here in NJ/NY which does not make Athena happy... I HATE the Summer.  I like all the things that come with it, but I don't like feeling like I have to crawl out of my skin in order to cool off.  Add in a dash of some people that don't believe in deodorant, it's not a good day.  You get the point... LOL So to cheer myself up from the 94+ degrees we're sure to hit today I have a pretty, pretty mani to show you. 

I posted about Essie's Sexy Divide a little while ago & since I itch to paint my nails every 2-3 days I decided to jazz this one up instead of doing a new mani.  I went with some Essie ~ Shine of the Times from the Holiday 2012 collection.  Jazz indeed...
How GAWGEOUS is this?!
FLAKIES!!!!
Gaaaaahhhh... cannot take it.  Look at that green!!!!!!
Green, red, gold, orange FLAKIES!!!!!
I mean seriously... how friggin' gorgeous is this?!  It's so amazing how dark colors can bring out the beauty in a topcoat.  It's like it took on another life.  I LOVED this!!!  As you can see Shine of the Times is certainly the shining star of this mani... such pretty flakies, red, gold mostly... the green & orange comes out at certain angles.  When you zig, it zags.  What do you think?

Jun 18, 2012

Read Between The Lines - Tape Mani inspired by Enamel Girl

Hellooooooo everybody!!!  How are you?  I am... EXHAUSTED... we had such a busy weekend & I feel like we never stopped moving.  I paid for it today at work by practically drooling all over my desk.  LOL 


During my busy weekend I somehow managed to find a minute or 2 (or more) to attempt a mani I saw from Enamel Girl.  I saw it on Pinterest & wanted to try it immediately.  I headed to Sally's to look for a perfect pink - or at least one close to it in order to do it.  Luckily I already had my perfect yellow courtesy of Zoya ~ Pippa.  While at Sally's I picked up another bottle of Seche Vite (can you really ever have too many bottles LOL) & managed to save $1 w/ a coupon.  Not a huge victory, but a victory none the less =) & I scooped up China Glaze ~ Love's A Beach (part of their Summer Neons Collection for 2012).  You can check out Enamel Girl's AHHHMAZING tape mani using the above link & here is my attempt:


Bottle Shot!!
My attempt close up
Sheck out my thumb...
Close up of my favorite finger (I think cause it looks like an "A")
How I did it --> Did my base colors (the base color comes out in the color of the lines), then I cut thin strips of scotch tape & placed them on my nail (after a nice thick coat of Poshe), once attached securely I put the contrasting color & removed the strips of tape as soon as I finished the top color.  Waited a bit & then topped all fingers off with a coat of Gelous followed soon after by Seche Vite.  Whew... 3 fingers in (pinky, ring & middle) I realized i should have attempted my own design - but I was so friggin' nervous to mess it up I copied Enamel Girl verbatim LOL, but I did do the thumb on my own as well as my index finger.  But once I saw the pictures above i realized the pinky & index are exactly the same just different direction ::insert face palm::.  Ah well, next time.  So what do you think?  I think I did it justice.  I see myself attempting this mani over & over.  The possibilities are ENDLESS.  Hope you enjoyed!!!

Jun 12, 2012

Pretty Camo - Zoya ~ Yara ~

Hello!!!!  Hope all is well.  Been a bit busy - the weather has been such a mixed bag here in Jersey - HOT making you want to crawl out of your skin, COOL enough to put on a jacket & now GLOOMY the type that makes you just want to stay in bed all day.  I choose GLOOMY!  Not that I'm gloomy, but because I LOOOOOVE to sleep :) Anywho, I hope you're ready for a pretty little lady Zoya calls Yara!!!!


Zoya Yara was one of my 1st Zoya's, I was a little worried to go for such a dark olive-y green (remember terrified of color - THIS GUY).  I never owned a green & certainly not a dark green such as this.  When I got it I was pleasantly surprised by it!  Camo green is the 1st color that came to mind when I saw it, but was so happy to see the pretty gold glitter that resides in Yara.  The abundance of glitter is so much so that it almost takes on the appearance of flakies (you'll see below), giving it such a nice depth to it.


Reporting for Nail Polish Duty!!
Same indoor lighting, but darker at a different angle
EXTREME closeup!  See how it could take on a bit of a flakey appearance?
Obligatory bottle shot
1st up - APPLICATION:  Amazing.  Application was smooth, not thick or thin, perfect.  The glitter spread out so evenly, never leaving a bald patch or ever made me have to try to get the glitter into place.
2nd - COVERAGE:  Excellent.  This is a 2 coater for me! 1st application gave such a great amount of glitter a 2nd added even more to it. 
3rd - SHINE:  Super shiny & what amazing quick dry time... dries to a pretty metallic finish
4th - WEAR:  This was easily a 3 day wear with no chipping, topped off with Poshe - Mama is pleased!  It could have probably gone for more, but I cannot have 1 color on my nails for more than 3 days - as hard as I try!


All pics were taken indoors.  All in all, so pleased with this Zoya purchase & so happy to have a pretty green in my collection made even more of a stand out star because of the glitter.  They go for $8.00 a pop & I got mine at Zoya.  The fairies over at Zoya run such an insane amount of generous offers, this ::might:: have been part of a buy 3 get 3 free offer.  Even without the awesome offers, Zoya is a no brainer when it comes to a beautiful array of quality color (any color you want they have!), free of toxins & vegan friendly to boot!  You can also scoop some up at Ulta.  Ciao for now!

Jun 7, 2012

Gone & Joined a Cult - Cult Nails ~ Crusin' Nude ~

You read that right... I am officially a "Cultie"!  FINALLY, I've been wanting to own some Cult Nails polishes & I finally got 2 - MORE TO COME... Maria had a great sale where a select number of polishes were on sale for $5!!!  How could I turn my nose up at such an offer you ask?!  I couldn't... is the answer.  As I stated in my 1st post - I was a nude girl - so a huge part of my heart of course will ALWAYS lie in nude/neutral colors.  Besides, how cute is the name?!  The name of this polish is absolutely perfect to me.  I have a few nudes & every  time I wear them I feel like my hands look longer, sexy, naked, completely exposed.  Crusin' Nude lived up to my expectations & more! 
Do you hear the Angels singing?  LOL
Blurry close up look of shim-shimma
::LOVE::
 As you can see... GORGE.  Let's delve deeper; shall we?


1st up - APPLICATION:  Phenomenal - I can't really remember the last time I tried a polish & was amazed at the ease & amount of coverage it gave, as I was with this.  Went on smooth - with NO streaking, balding, wasn't too thin or thick.  Perfect.  
2nd - COVERAGE:  This was sooooooo close to being a one coater for me.  I missed part of the edge & I hate going over a spot I just did, so I did a second thin coat.  If it wasn't for my shakey hands it would have been a 1 coater for me!  Opaque in one coat?! No!! YESSSS!!!!
3rd - SHINE:  Honestly the shiniest polish I've ever used.  I would have skipped top coat if I wasn't so paranoid about chipping.  The finish was PERFECT (there goes that word again!)


The color itself is beautiful.  It's a perfect nude (although it looks slightly brown in the 1st pic), with a stunning pink shimmer.  It gives it that extra something & has easily weaseled it's pretty little way into my heart as my very favorite nude!!!  As I mentioned I was able to scoop this up & Enigmatic (swatch on the way!) during the sale.  Cult Nails polish is available at Cult Nails & go for a very well worth it $10.  If you don't own, get thee into the Cult!  Ciao!